Nowadays, all developers and engineers are opening their own blogs and make it part of their portfolios.
Developers also share a lot of tips on the blog because almost all of us have a mindset that they want to share their valuable information.
I also want to introduce how to create a blog in the hope that many people can open their own to expose themseleves and share a lot of information together!
As an overall series of this post, I am going to show you how to creat a GitHub blog through a framework called Hugo step by step. In this post, I will introduce how to create a static website with Hugo.
Prerequisite
My develop environment is based on mac OS
First, you need to have git and hugo installed in your computer
# Install
$ brew install git
$ brew install hugo

# Check
$ git version
git version 2.36.1
$ hugo version
hugo v0.100.2+extended darwin/amd64 BuildDate=unknown
Making Hugo Site
# Go to your working directory
$ cd $WORK_DIR

# Create hugo site template
$ hugo new site myblog
Congratulations! Your new Hugo site is created in /YOUR/WORKING/DIR/myblog.

Just a few more steps and you're ready to go:

1. Download a theme into the same-named folder.
   Choose a theme from https://themes.gohugo.io/ or
   create your own with the "hugo new theme <THEMENAME>" command.
2. Perhaps you want to add some content. You can add single files
   with "hugo new <SECTIONNAME>/<FILENAME>.<FORMAT>".
3. Start the built-in live server via "hugo server".

Visit https://gohugo.io/ for quickstart guide and full documentation.
Now you can find a directory, myblog. The structure looks like below.
myblog $ tree -a ./
./
├── archetypes
│   └── default.md
├── config.toml
├── content
├── data
├── layouts
├── public
├── static
└── themes

7 directories, 2 files
Add Theme
Now you can create your own theme to apply into your blog or use an already well-made theme template.
There are many fancy themes so you can easily use the one that have already been made and maintained by others.
You can checkout many hugo theme site in here. In this tutorial, we will
use hugo-theme-stack! or you can pick your own!
My blog is in
PaperModtheme
$ pwd
/YOUR/WORKING/DIR/myblog
$ git init
$ git clone https://github.com/CaiJimmy/hugo-theme-stack.git themes/hugo-theme-stack
By using
git submodule add, you can apply the theme more elegantly thangit clone. (It is also easier to manage in git repo)
Now open config.toml, and add the line theme='hugo-theme-stacka'
baseURL = 'http://example.org/'
languageCode = 'en-us'
title = 'My New Hugo Site'
theme = 'hugo-theme-stack'
Add your first post
$ hugo new posts/first-post.md
Content "/YOUR/WORKING/DIR/myblog/content/posts/first-post.md" created
Using the command above, we can create fisrt-post.md file and the content of the file looks like below.
All posts in hugo are written in markdown. So I recommend you get familar with markdown.
---
title: "First Post"
date: 2022-06-22T23:03:07+09:00
draft: true
---
The draft hides the post being shown in the actual site when it is deployed.
Start Hugo server
Now lets check how all it looks so far now.
$ hugo server -D
Start building sites …
hugo v0.100.2+extended darwin/amd64 BuildDate=unknown

                   | EN
-------------------+-----
  Pages            | 10
  Paginator pages  |  0
  Non-page files   |  0
  Static files     |  0
  Processed images |  5
  Aliases          |  4
  Sitemaps         |  1
  Cleaned          |  0

Built in 78 ms
...
Environment: "development"
Serving pages from memory
Running in Fast Render Mode. For full rebuilds on change: hugo server --disableFastRender
Web Server is available at http://localhost:1313/ (bind address 127.0.0.1)
Press Ctrl+C to stop
By typing hugo server -D, it starts hugo server. When you open a web browser http://localhost:1313/ then you can check how your blog looks like in your local environment.
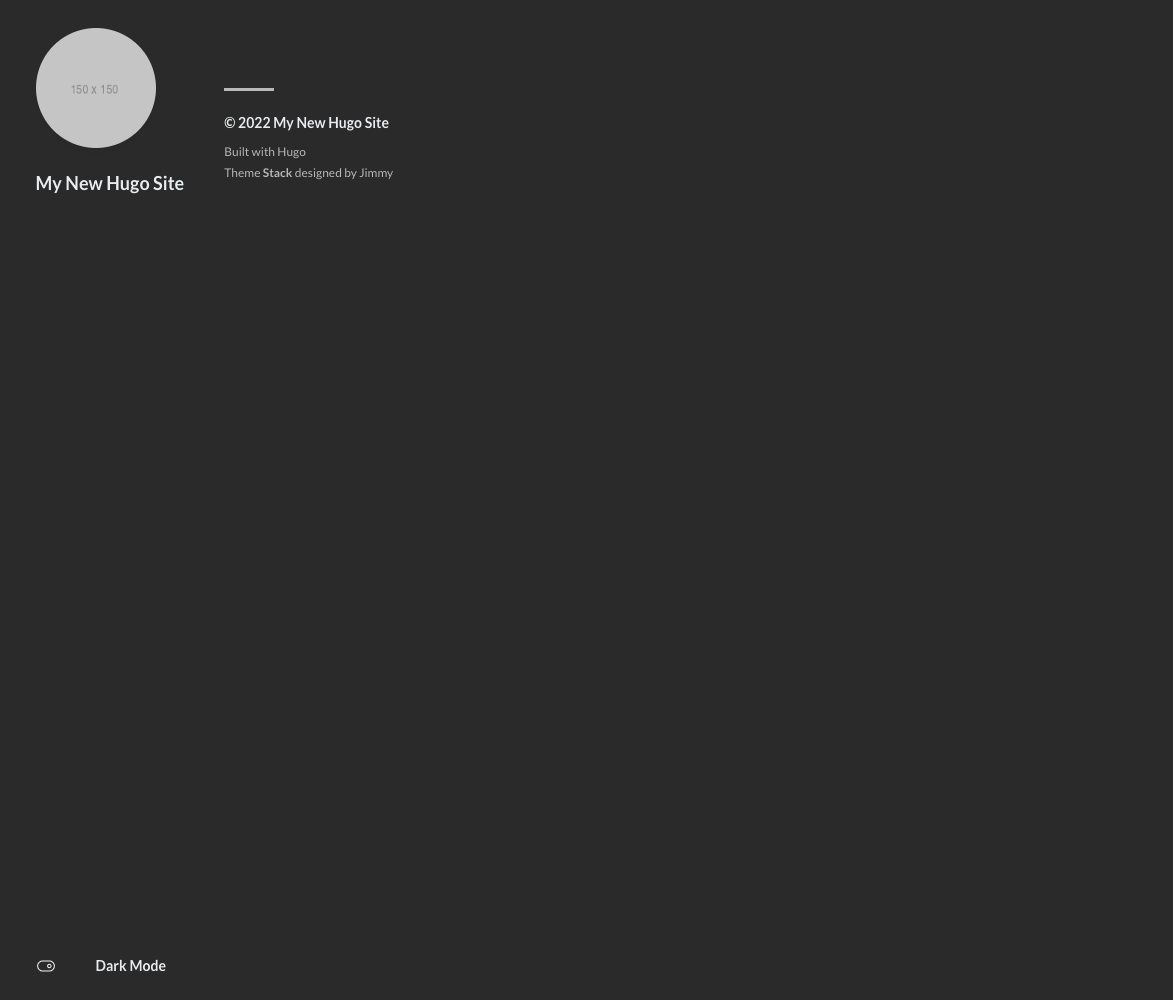 This is how it looks so far.
Customizing theme
To customize the theme, edit config.yoml. But since I am more familar with the yaml than toml, I am going to use config file in yaml to customize it.
Let’s apply config.yaml provided by hugo-theme-stack. The file is in themes/hugo-theme-stack/exampleSite direcotry.
Also let’s move all example posts too.
$ cp themes/hugo-theme-stack/exampleSite/config.yaml ./
$ cp themes/hugo-theme-stack/exampleSite/content/ ./
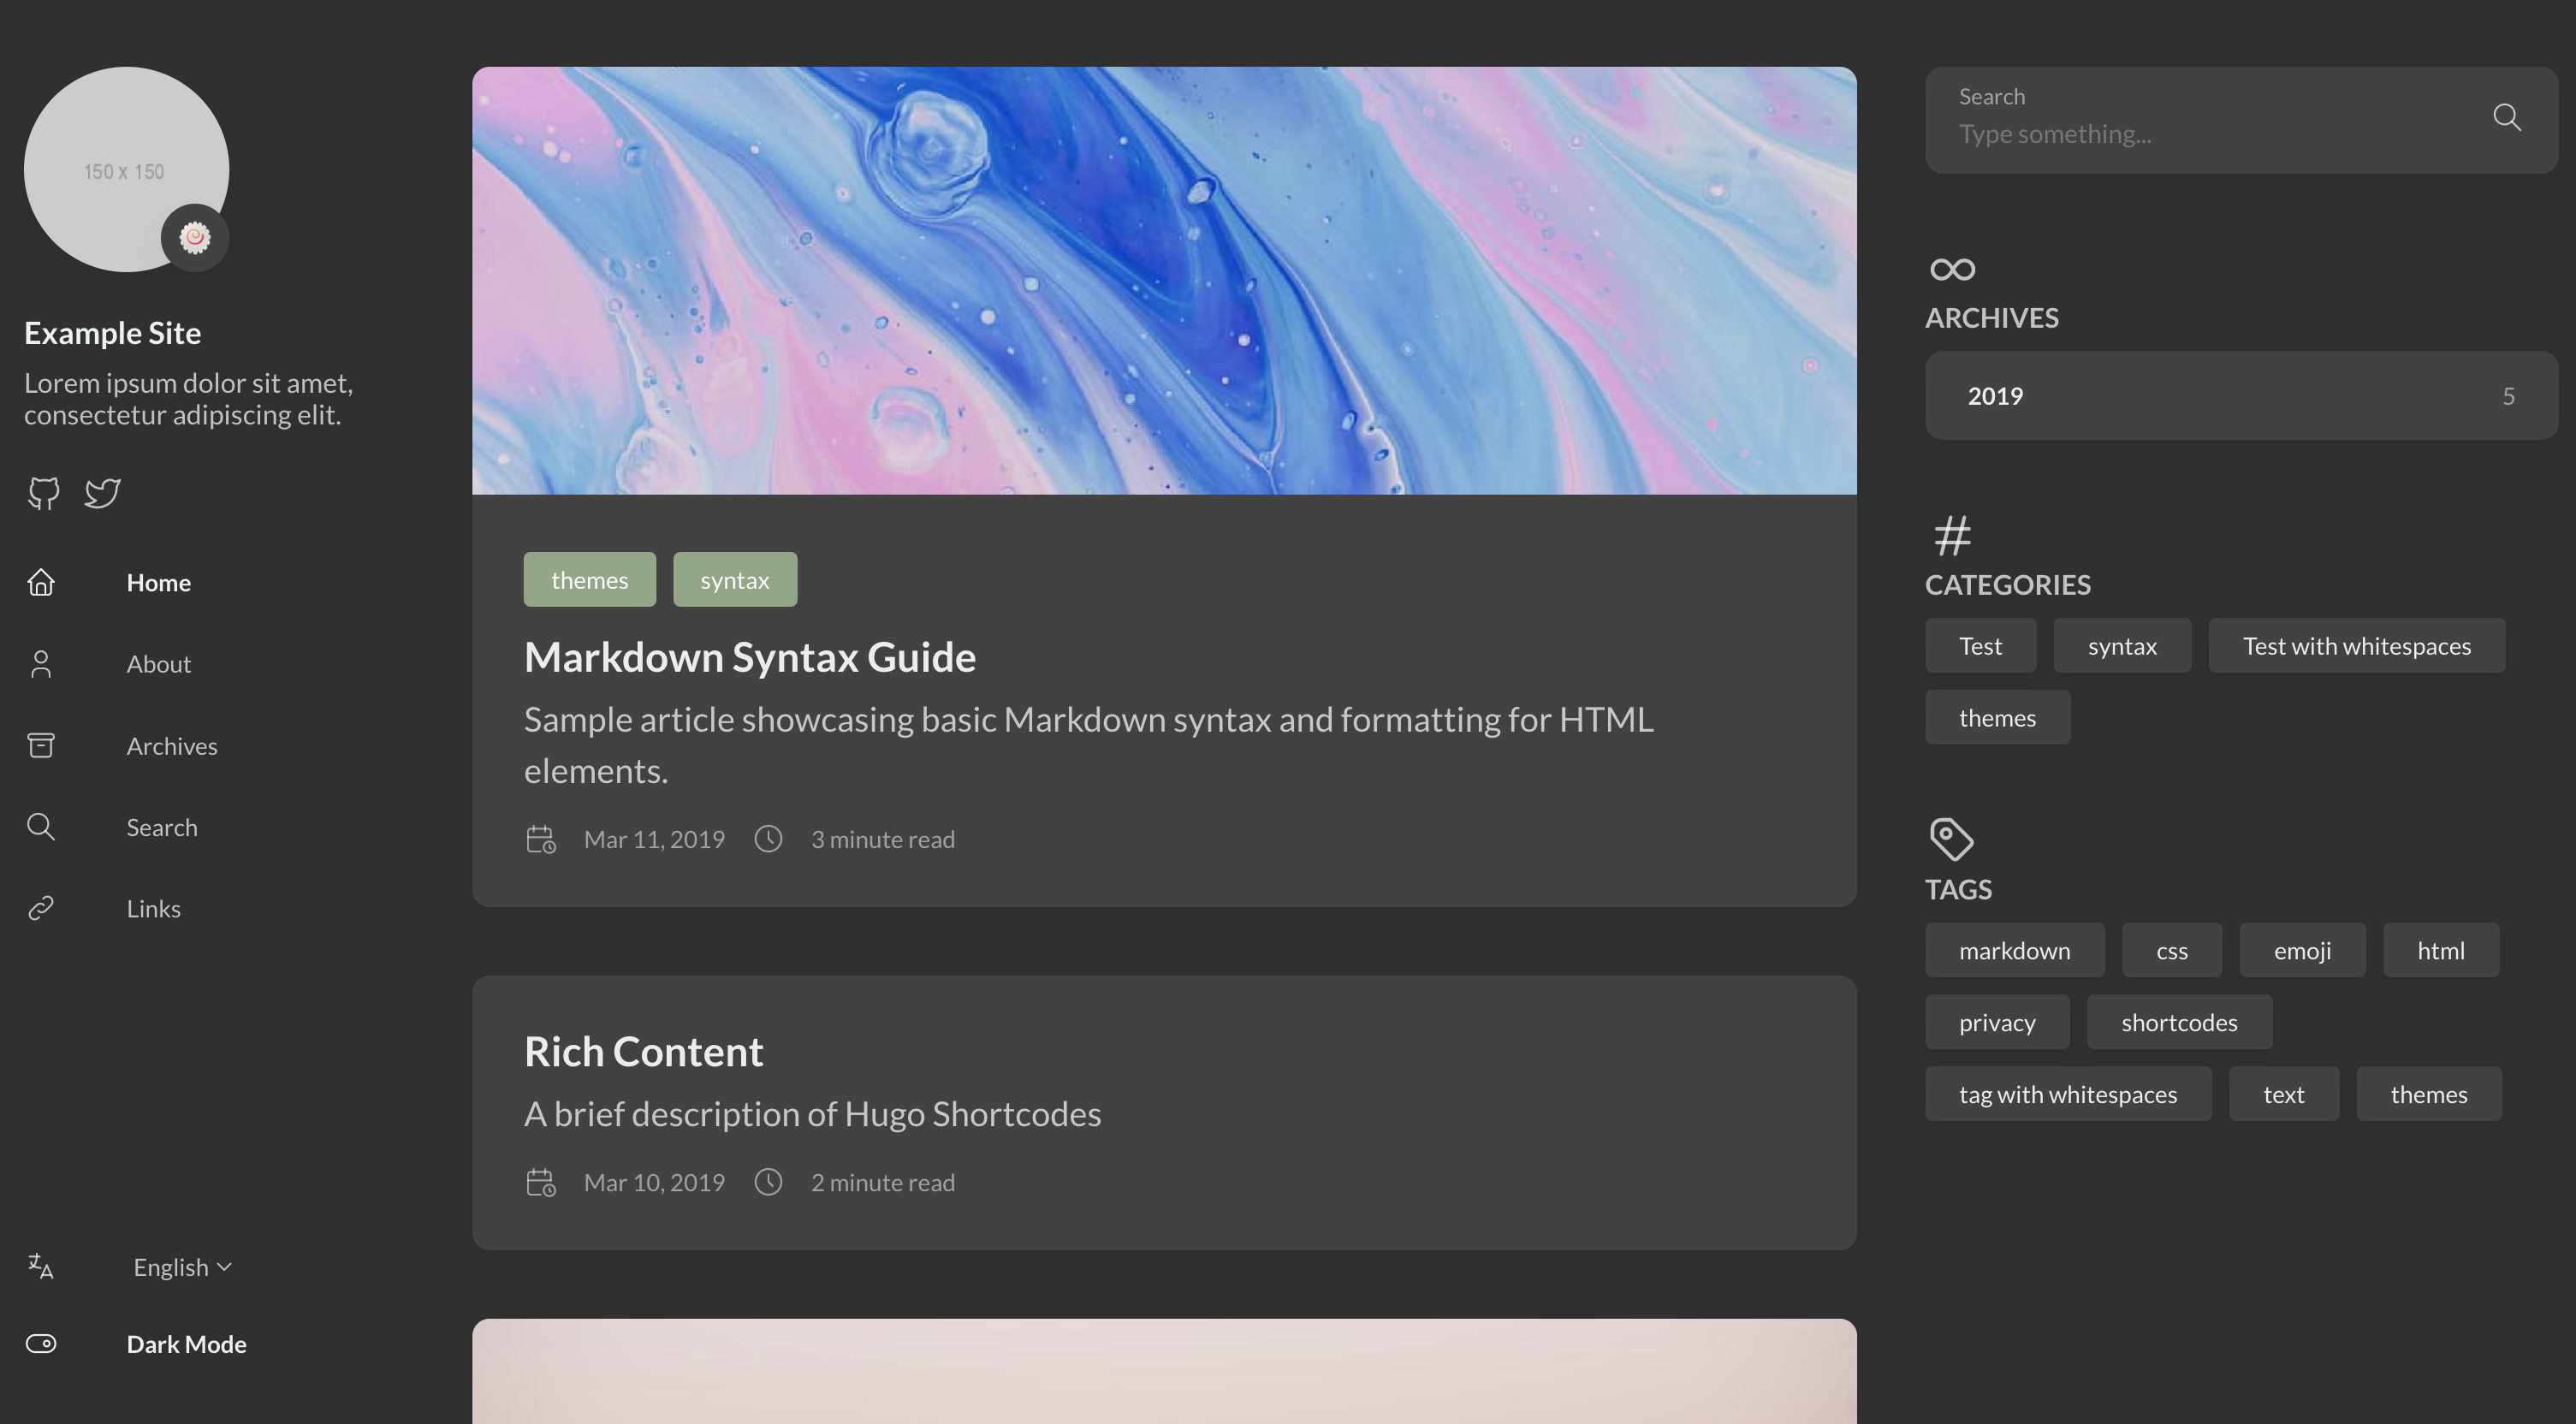
Executing hugo server -D again, then you can check how the example blog site is made
Making static page website
$ hugo -D
By executing hugo -D, hugo generates static site code in ./public directory.
By hosting this codes, you can easily serve your blog online.
Comments
In the next post, I will introduce how to host a static site made with hugo using a github page!
Until then, look around and choose the theme you want to use for your blog, and check out the customizable features.
Most of the features are describe in detail on official github repo of the theme :)
Also get familar writing a post in Hugo!
See you in the next post!